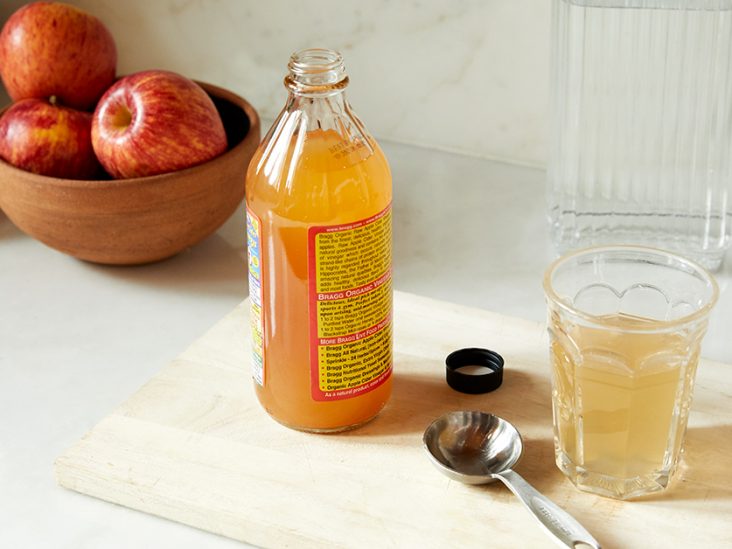
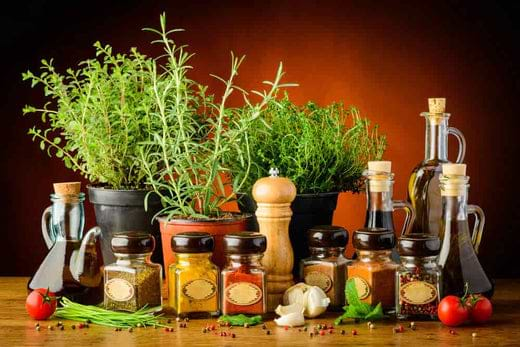
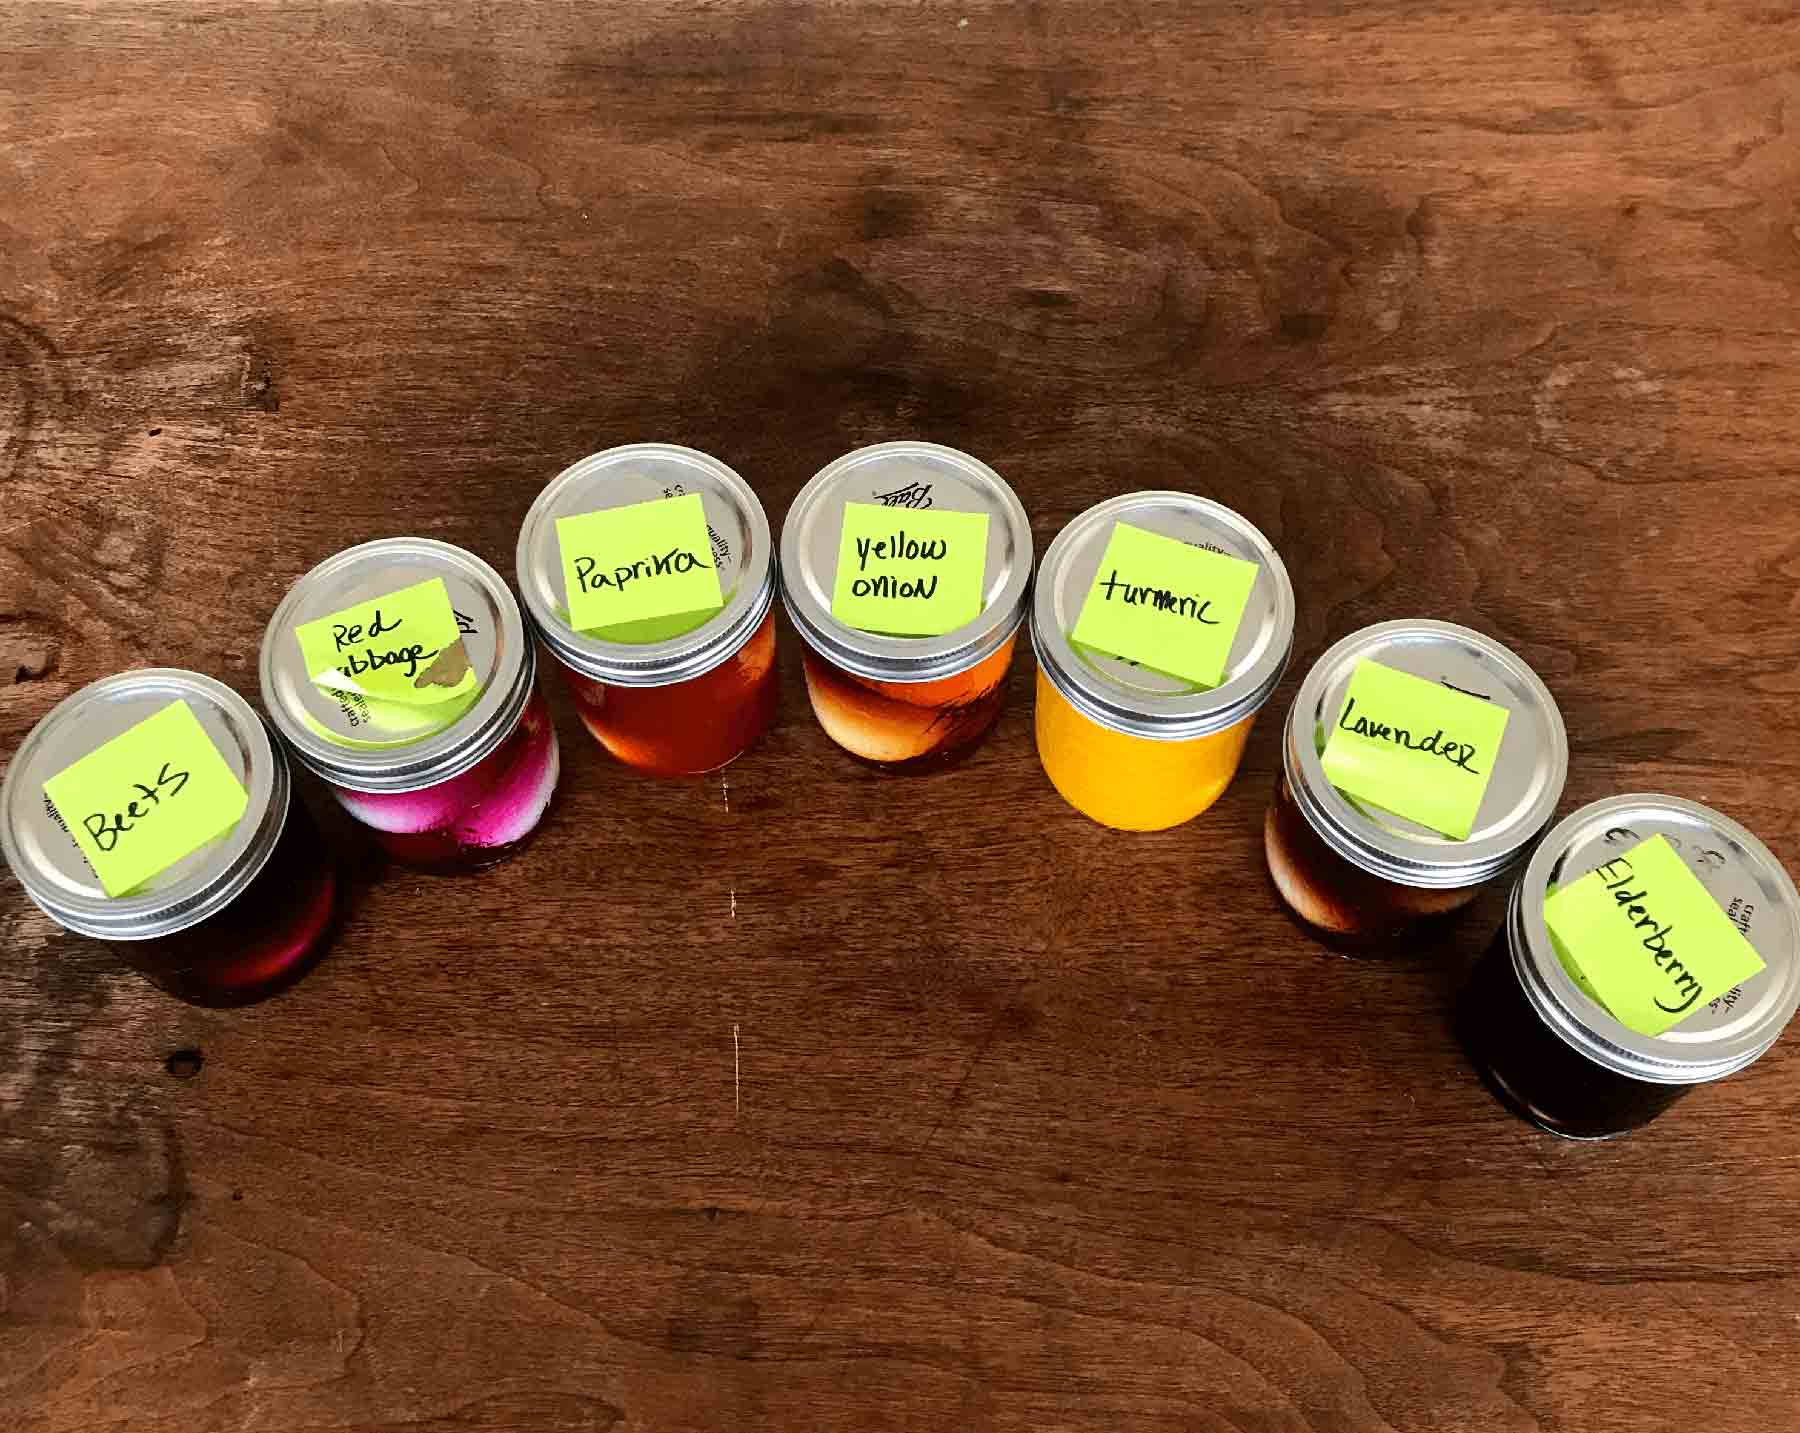
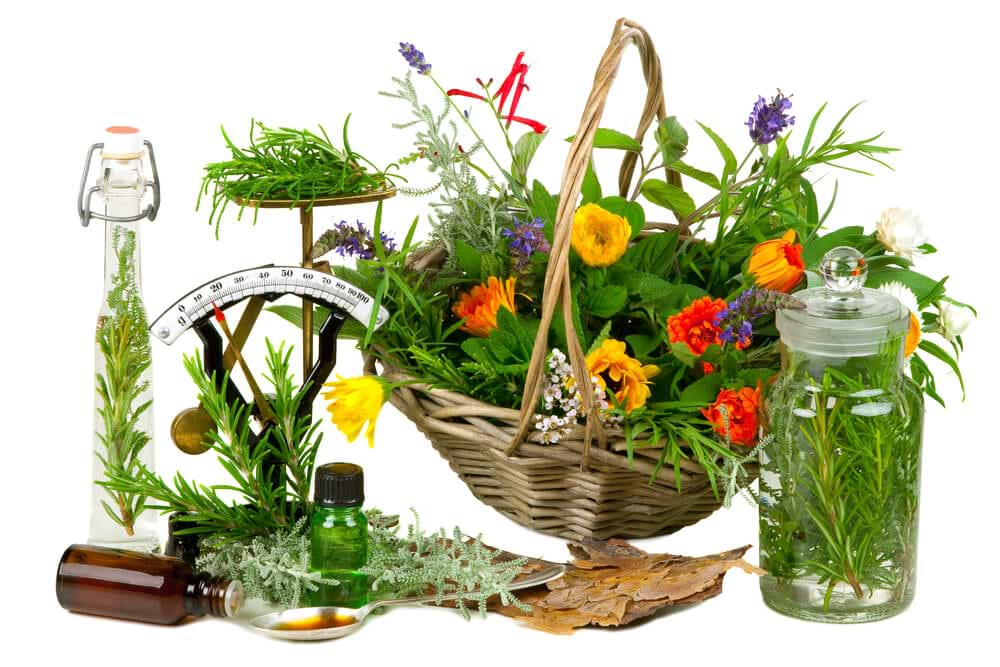
Autumn is the time of pumpkins, Cinnamon and getting cozy with a cup of tea. For me, it is also time to start making herbal vinegars. Vinegars are a great way to preserve the bounty of culinary and medicinal plants of the summer. They also help add life to your cooking and make great holiday gifts. To top it off, they are easy to make.
Vinegar has been used as a preservative and medicine for thousands of years. Similarly, herbal vinegars have a long history of use as both food and medicine. Dioscorides and other classic physicians often recommended herbal vinegars for both internal and external use.
Vinegar can extract nearly all constituents from plants, similar to alcohol. But because it is alcohol free, herbal vinegars are kid friendly and great for people who don't like or can't have alcohol. Vinegar is particularly good at extracting minerals (think of the school experiment that showed egg shells dissolving in vinegar). This makes it a great way to get the benefits of some of our best nutritive herbs throughout the winter.
Beyond their health benefits, herbal vinegars are also a great way to bring the taste of summer into your winter kitchen. The only difference between culinary and medicinal vinegars is the amount of plant material you add and in some cases how long you allow it to sit. These make great gifts and are an easy way to add a kick of flavor to recipes.
One of my favorite things about herbal vinegars is how versatile they are. They can be taken in therapeutic doses by the spoon or dropperful or you can add them to your favorite recipes in place of regular vinegar. My herbal vinegars are often the secret ingredient in some of my favorite dishes.
You can make herbal vinegars out of any of your favorite herbs or combination of herbs. Below are a few of my favorites but feel free to experiment. This is just the beginning.
Culinary herbs that make great vinegars include:
- Garlic (Allium sativum)
- Rosemary (Rosmarinus officinalis)
- Basil (Ocimum basilicum)
- Oregano (Origanum vulgare)
- Tarragon (Artemisia dracunculus)
- Thyme (Thymus spp.)
- Sage (Salvia officinalis)
- Chili Pepper (all varieties)
Here are some of my favorite medicinal herbs to make into vinegars:
- Hawthorn (Crataegus spp.)
- Rose (Rosa spp.)
- Dandelion (Taraxacum officinale)
- Horsetail (Equisetum spp.)
- White Willow (Salix spp.)
- Elderberry and elder flower (Sambucus nigra)
- Wild Oregano (Monarda spp.)
- Schisandra (Schisandra chinensis)
- Yarrow (Achillea millefolium)
- Calendula (Calendula officinalis)
- Any digestive herb or combination of herbs including Cardamom, fennel, catnip, Lemon Balm, chamomile, etc.
Some great nutritive herbs are:
- Alfalfa (Medicago sativa)
- Nettles (Urtica dioica)
- Raspberry Leaf (Rubus ideus)
- Dandelion (Taraxacum officinale)
- Oatstraw (Avena sativa)
Nutritive herbs are packed full of vitamins and minerals and vinegars made with these herbs are great way to get their nutritive properties. Most of these are mild in flavor, which make them easy to substitute in salad dressings and other recipes.
Making Your Vinegar
Herbal vinegars are really easy to make. Essentially you place an herb or herbs of choice into a jar, cover with vinegar, and allow to steep. Below is a step-by-step process for making your own herbal vinegars. While there are a few important things to remember (metal and vinegar do not mix), know there is very little you can do wrong. So feel free to experiment.
You will need a glass jar. If you plan to give them as gifts, you might want to get decorative glass containers. But you can also just use an old spaghetti sauce jar as well. Any glass container is fine.
Next you want to fill your jar with your herb of choice (or combination of herbs). These can be fresh or dried. The exact amount is up to you and depends on how you plan to use it. In general, medicinal vinegars are made with far more plant material than culinary or "flavored" vinegars. I usually fill my jar at least halfway with herbs if not more. For culinary vinegars, it's a matter of taste. I've made strong basil vinegar that is made with as much basil as I can fit into the jar and I've also made lighter vinegars that perhaps only have a sprig or two of rosemary in it. So play around with it and see what works best for you. Again, you can't get it wrong. Keep in mind that dried herbs will give a stronger flavor, so if you prefer a more delicate flavor, use less.
For medicinal vinegars, many believe that only dried herbs should be used and yield a "stronger" medicine, as the water is no longer in the plant. But I disagree. I've made medicinal vinegars and oxymels with both fresh and dried herbs and both work great. So really, it's a matter of ease and preference. Try it both ways and see which one you prefer.
Once you have your herbs in the jar, you want to cover them with vinegar until the herbs are submerged and there is about a ¼ inch of vinegar on top. You can use any type of vinegar. I tend to make mine with raw unfiltered apple cider vinegar. If you are making culinary vinegars you might want to use red wine or even balsamic. It's up to you. I do not recommend using white distilled vinegar. If you do use raw vinegar that still contains the "mother," your vinegar might develop a white layer of slime on top of it after storing it. This is not mold but another "mother." You can remove it and throw it away and your vinegar is still fine.
It is important that all plant material be submerged in vinegar. If it is exposed to air, there is the risk of introducing bacteria. If you use dried herbs you may need to top up the vinegar in your jar the first few days as the plant material absorbs the vinegar.
You are now ready to seal your vinegar. VERY IMPORTANT: do not use a metal lid for vinegars or at least make sure the vinegar never touches the metal, as it will corrode the metal and ruin your vinegar. Use a plastic, glass or rubber lid. If you are using a jar that has a metal lid, first cover the jar with plastic wrap or parchment paper before placing the lid. This will prevent the vinegar from touching the metal. For decorative containers, make sure they have non-metal lids.
Traditionally, you want your vinegar to sit in a dark place, or at least out of direct sunlight for 4-6 weeks. However, if you are making a delicately flavored vinegar you might only want it to sit for two weeks. Once your vinegar is ready, you can strain and bottle.*
If vinegars are too acidic for you, add a bit of honey to help mellow it out. You can add this at the beginning of the process when you"re making your vinegar (just add a bit of honey to your container) or once you"ve strained your completed vinegar. The exact amount will differ depending on the size of your container, so add to taste. Traditionally, herbal tonics made with vinegar and honey were called oxymels.
Enjoy!
* It is fine to allow the vinegar to sit past this time. This is just a guideline to allow the vinegar enough time to extract the constituents from the plants. Leaving it longer will not harm your vinegar. Some of my vinegars and oxymels I use quickly enough that I never strain them. If you choose to leave the plant material in, I recommend straining them once the vinegar level is below the plant material.
Erin Smith has been working with plants for 25 years and is medical herbalist and ethnobotanist. She is the creator of Plant Passionate Living, an interactive program designed to help people find greater health and vitality through a deeper relationship with plants. Erin is the Founder and Director of the Center for Integrative Botanical Studies.
For educational purposes only. This information has not been evaluated by the Food and Drug Administration. This information is not intended to diagnose, treat, cure, or prevent any disease, or sell any product.
Recommended Products
Further Reading
